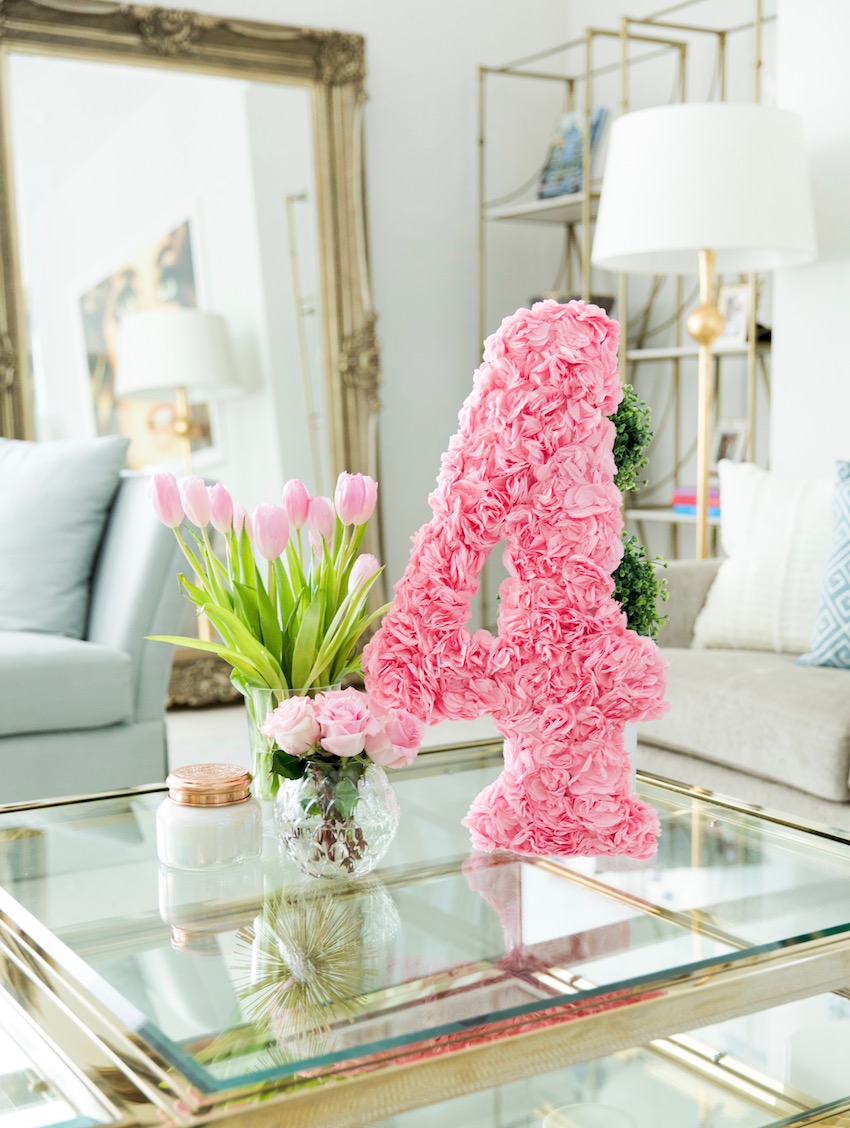
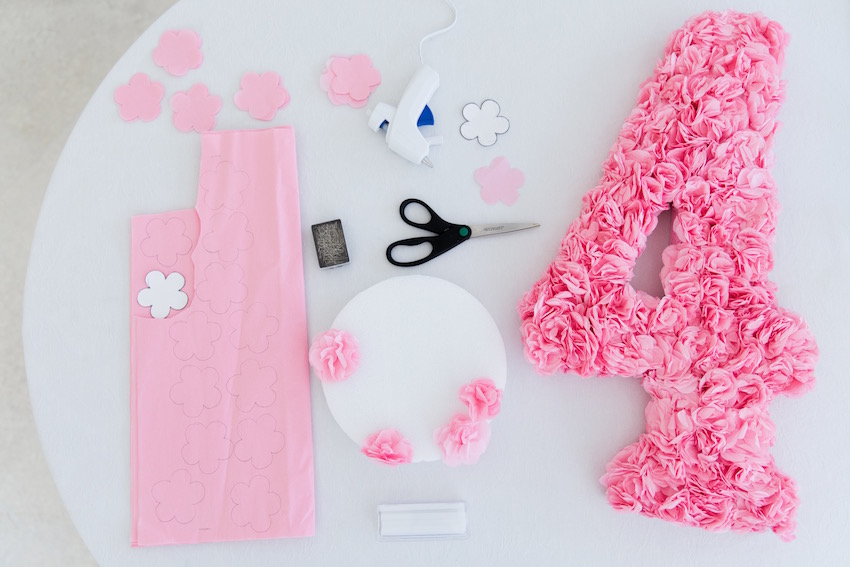
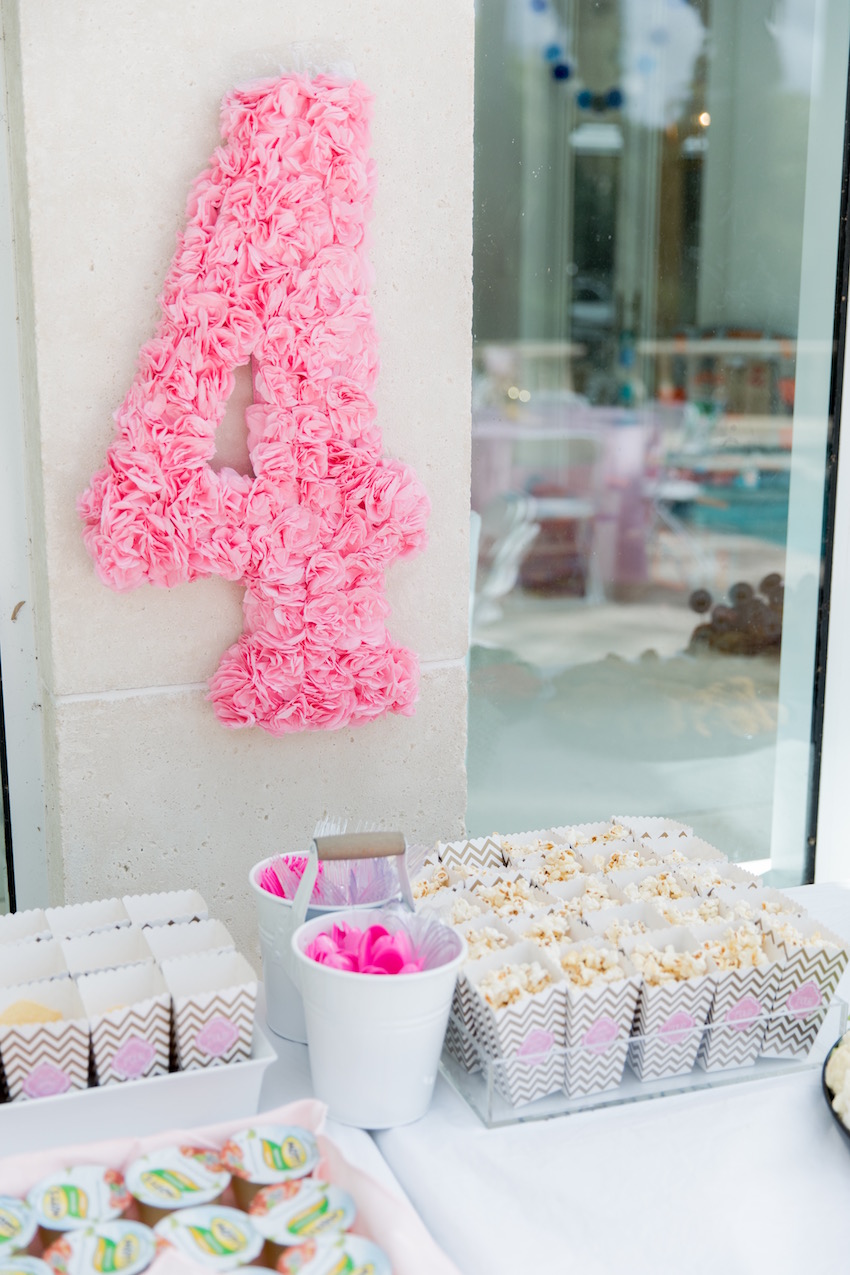
So many of you asked about this “Floral Four” that we created for Reese’s Birthday Party that I had to finally share this DIY on the Blog! It really is such a cute centerpiece for any party and was the perfect backdrop to our food buffet. So get out your scissors because this is a fun one!!
What you will need:
- A styrofoam cut-out of the number you want to feature. I bought a huge piece of styrofoam at Joann Fabric and a large card stock number 4, traced the 4 on to the styrofoam, and cut out with an exacto knife. I did see that they sold pre-cut numbers and letters but they were quite small. So either option works!!
- Tissue paper {I needed 4 packs!}
- Scissors
- Glue Gun
- Pencil for Tracing + One piece of construction paper
- A pack of needles
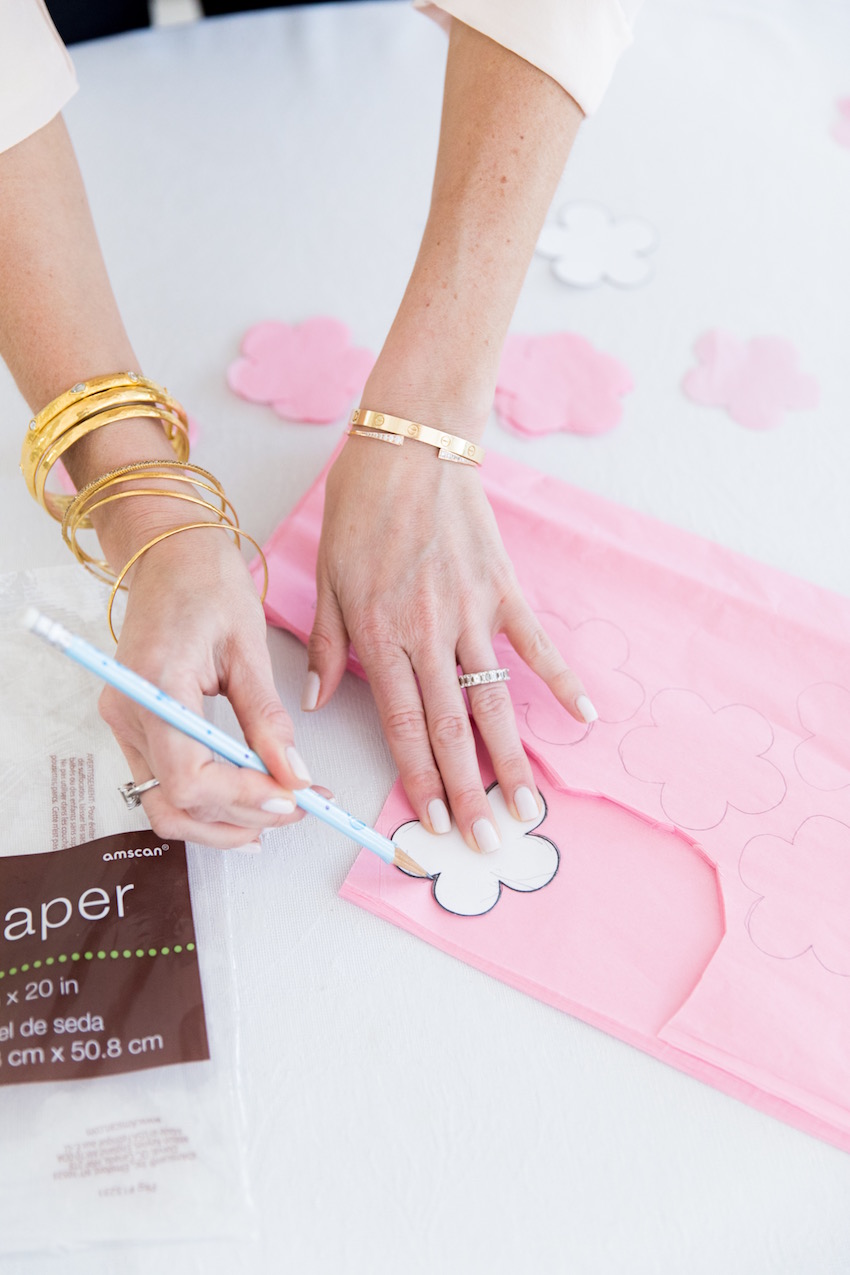
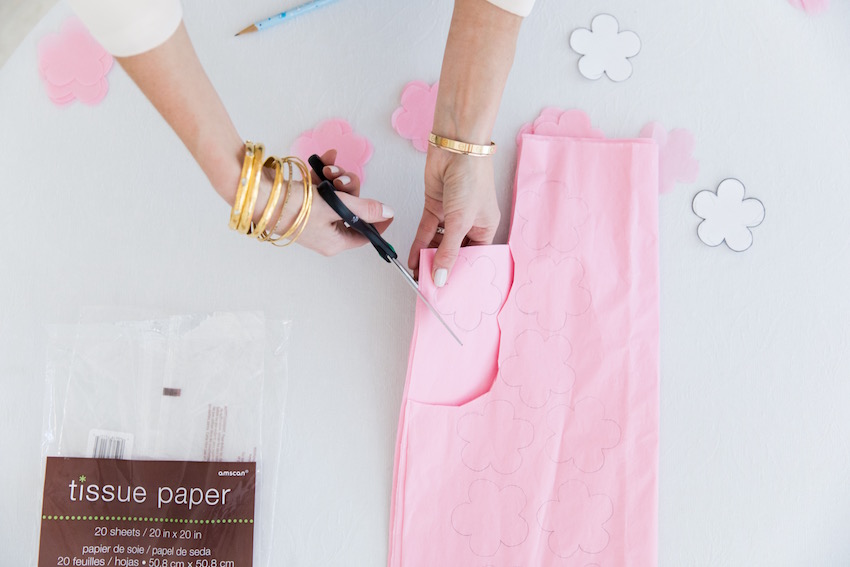
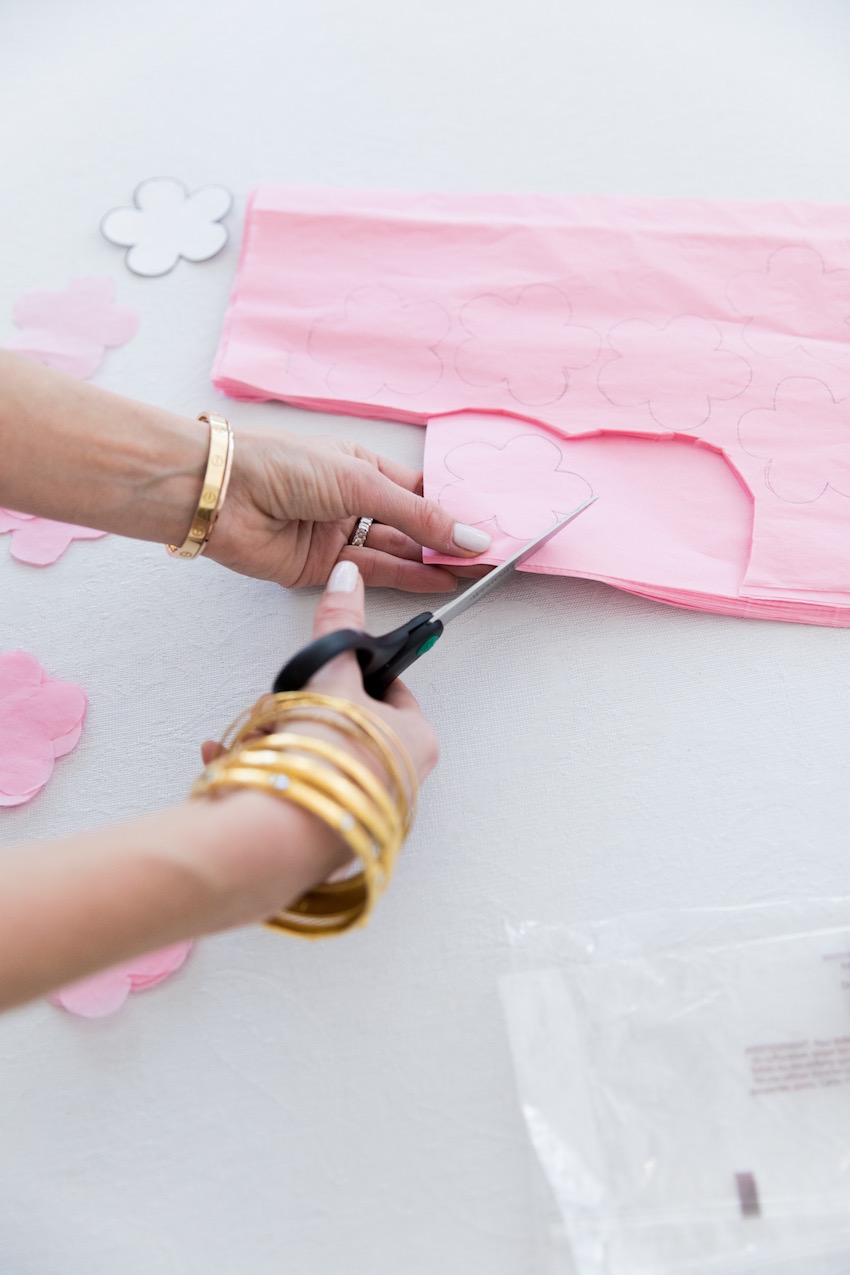
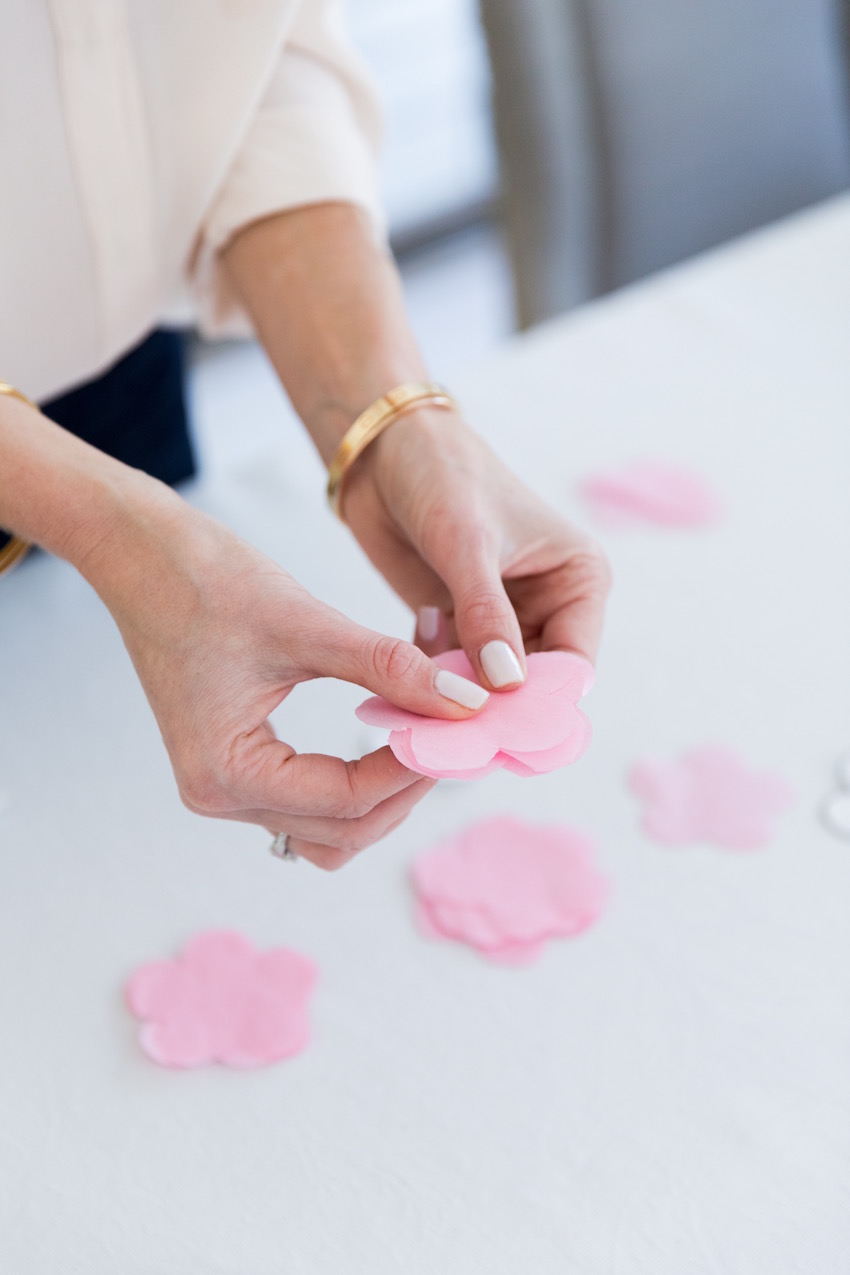
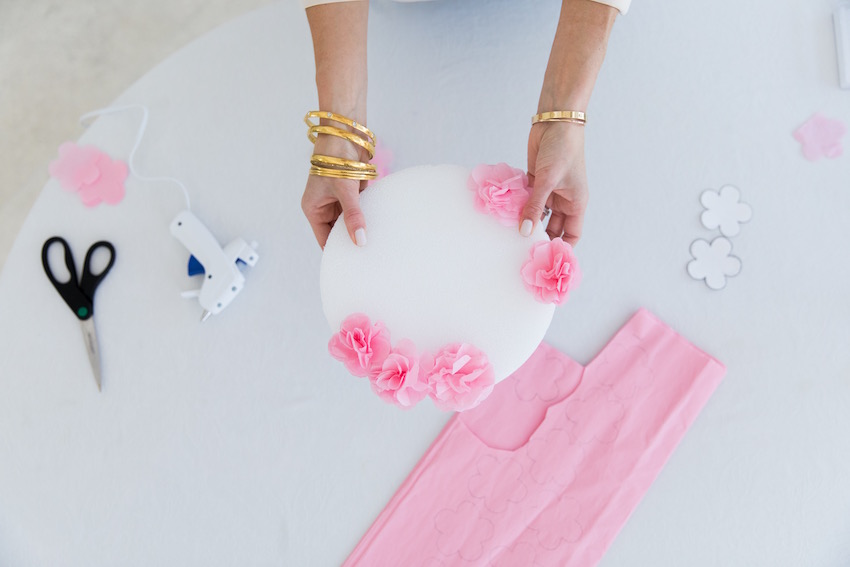
Get Started: Take your construction paper and draw a flower that will serve as your tracing flower for the project. I actually printed one off the internet to trace {see the white flower above}. Take your tissue paper and fold it at least 5 times so it is thick. Then take your white construction paper flower and trace flowers onto the top layer of tissue paper. Now begin cutting. Slowly you will have flower stacks… place each stack in a small pile to the side.
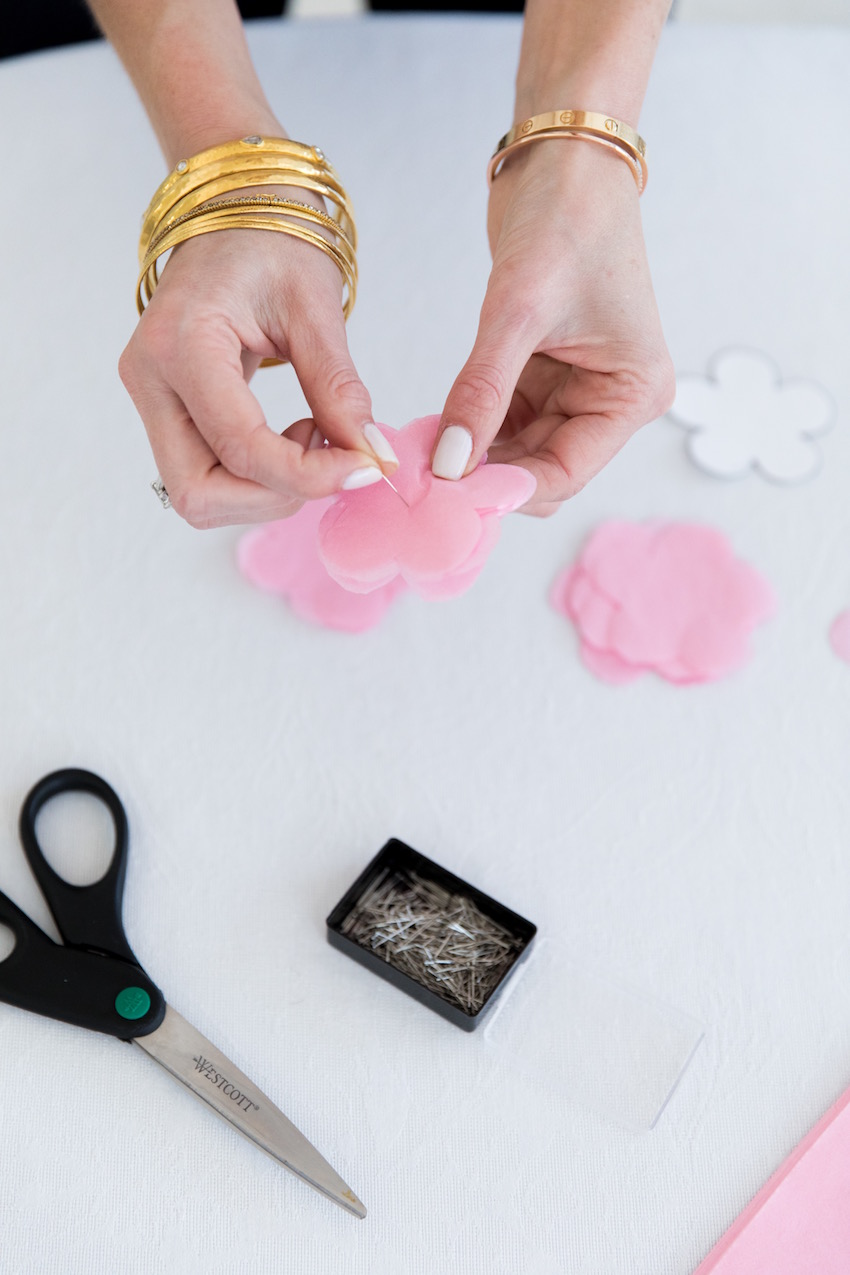
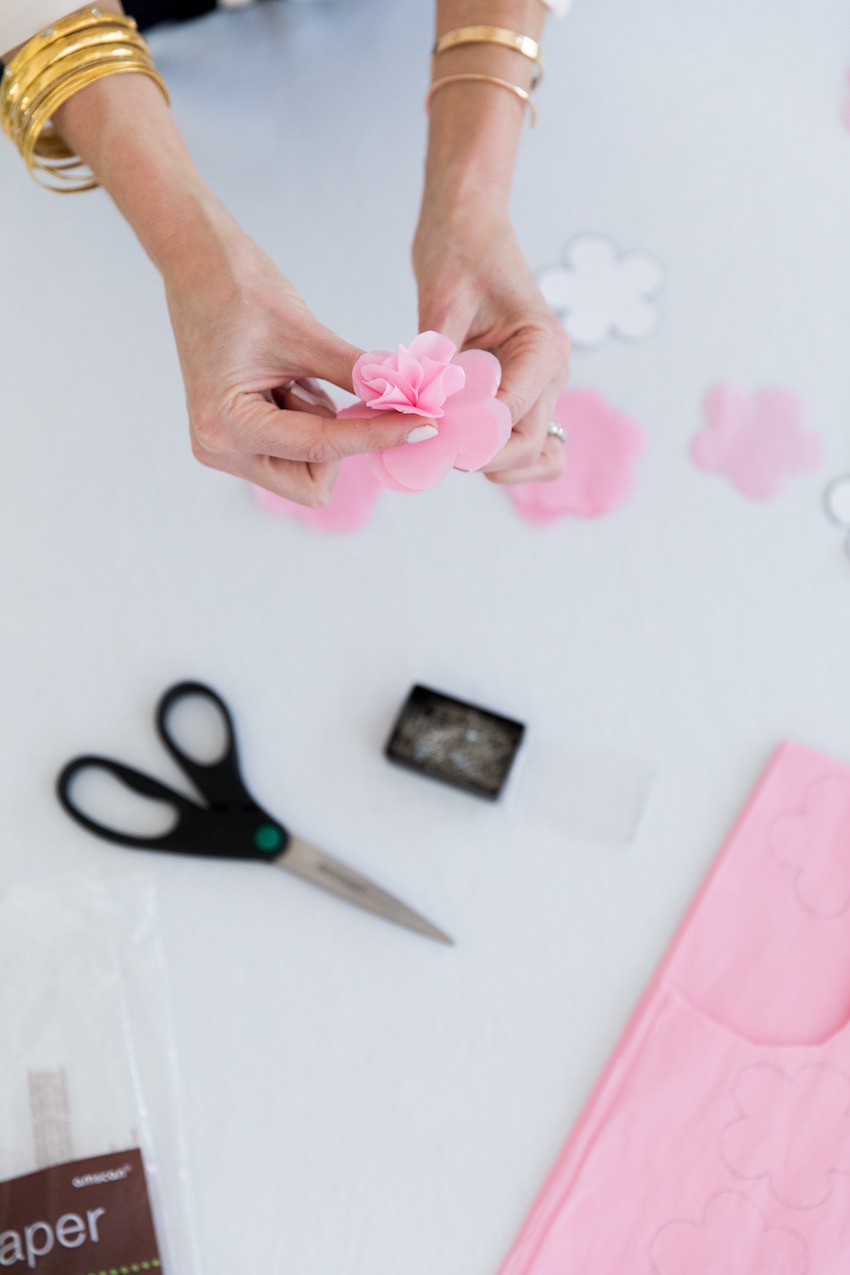
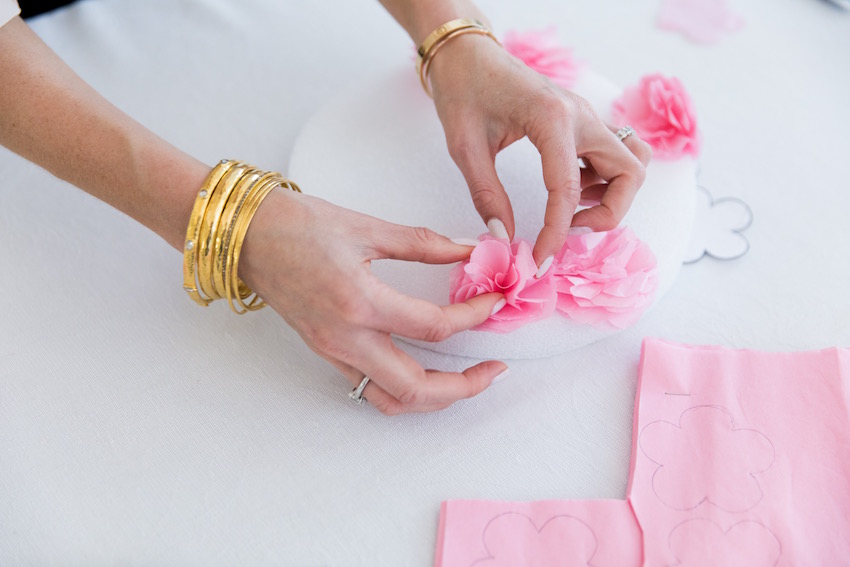
Next Up: Take a flower stack and stick a needle through the middle. Push all the way through. Now begin to fluff up the individual layers, layer by layer, so the flower becomes 3-D and full.
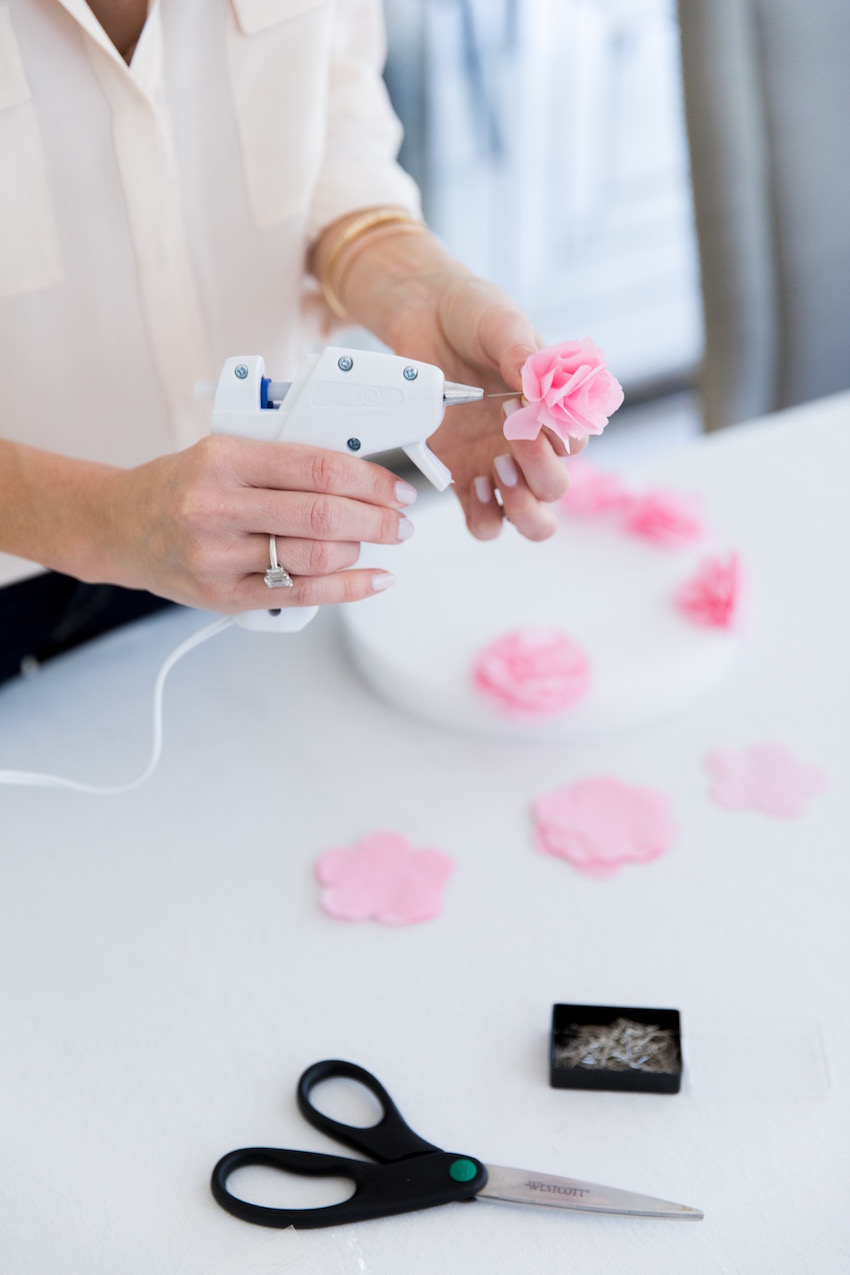
Now: Take your super glue and apply hot glue to the needle that sticks out the bottom of the flower. This will help secure the flower in the styrofoam. Place the needle/flower into your styrofoam and give it time to set and dry. Continue the previous steps and place the flowers close enough together in the styrofoam so that there is no white space showing. After the needle has a few minutes to dry in the styrofoam, be sure to fluff the layers of the flower a bit more!


And that’s a wrap… it may take a bit, but slowly but surely you will fill the whole space!! This is such a fun idea for the Bride & Groom’s initials, a Baby’s Birthday, or even a large heart! One little tip if you want to save a tiny bit of time… paint the styrofoam the color of the tissue prior to getting started. You will then need less flowers to fill up the space because the colors will blend!!
Good Luck!!
Photos by Yesi of Simply Lively photography
Shop Fashionable Hostess Favorites