
When we moved into our new apartment I realized that while my kitchen has great storage for plates and bowls, it was lacking in an easily accessible space for my cooking spices. Rather than doing the logical thing of cleaning out half the spices I don’t use and just finding space for the remaining batch, I began brainstorming for ways to keep everything I own and create a new home that fit them.
After a trip to Home Depot, I weighed in my options and I decided to purchase two floating shelves {for under $60!} that my husband could hang, and would occupy an empty corner of my kitchen. I have high hopes that a random recipe will come my way where I need ‘Cream of Tartar,’ and I will be so excited that I held on to it!

So what did I do exactly to create my DIY Spice rack?
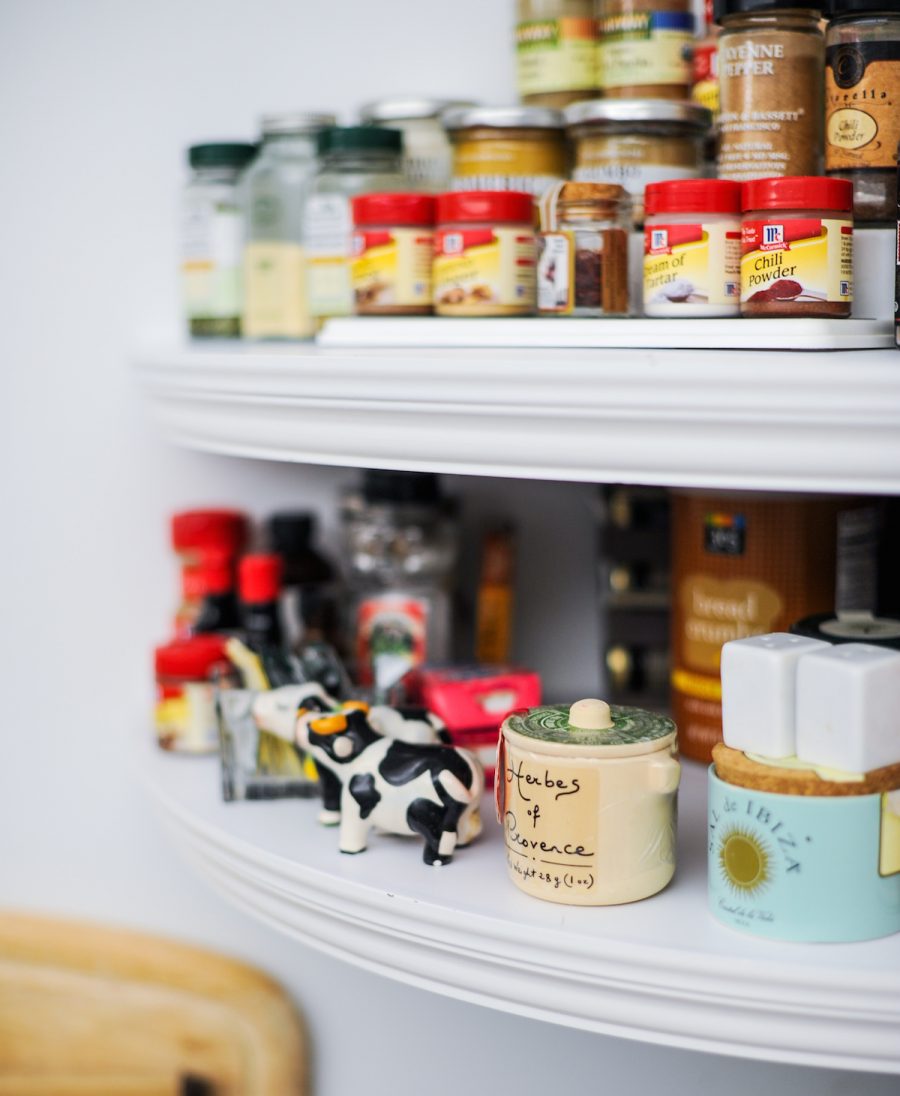
- I picked up two corner floating shelves at Home Depot in 17.7 in x 17.7 in . 1.75. I liked the white because my kitchen is all white, so I wanted to keep the look clean.
- For shelf heights, I wanted to maximize the space below my floating shelves for storage on my countertop, so I placed my items on the counter, measured how how they went up, and then started my bottom shelf right above it.
- Then I measured the highest of my spices that I planned to place on the bottom shelf {which was my large salt container} and placed my top shelf right above that. There is probably a much more mathematic way of doing this, but hey this is DIY and I had cleaning up to get to!
- Most importantly I made sure that my top shelf wasn’t too high because there is no time to get out a step stool when cooking!
For organizing my spices, I designated the top shelf for less used spices and then the bottom shelf for more common everyday spices. For my top shelf, I used my tiered plastic spice rack to arrange my spices {maximizing space while keeping everything viewable}. I tried to make the shelves easy to navigate by arranging spices in clusters; I placed sweet baking spices like cinnamons and sugars on the left end, while I placed spicy cooking spices like cayenne and pepper on the right end. On the bottom shelf, front and center, I made sure to put my most commonly used items like salt and pepper shakers and my coffee sweeteners.


So there you have it. Any easy inexpensive way to maximize storage space in your kitchen on a small budget! Hope this was a helpful project. {Looking to arrange your spice rack but have even more space to work with? Check out this Fashionable Hostess Article “Organize your Spice Rack”}
Shop everything you need to create your own DIY spice rack:
Shop Fashionable Hostess Favorites